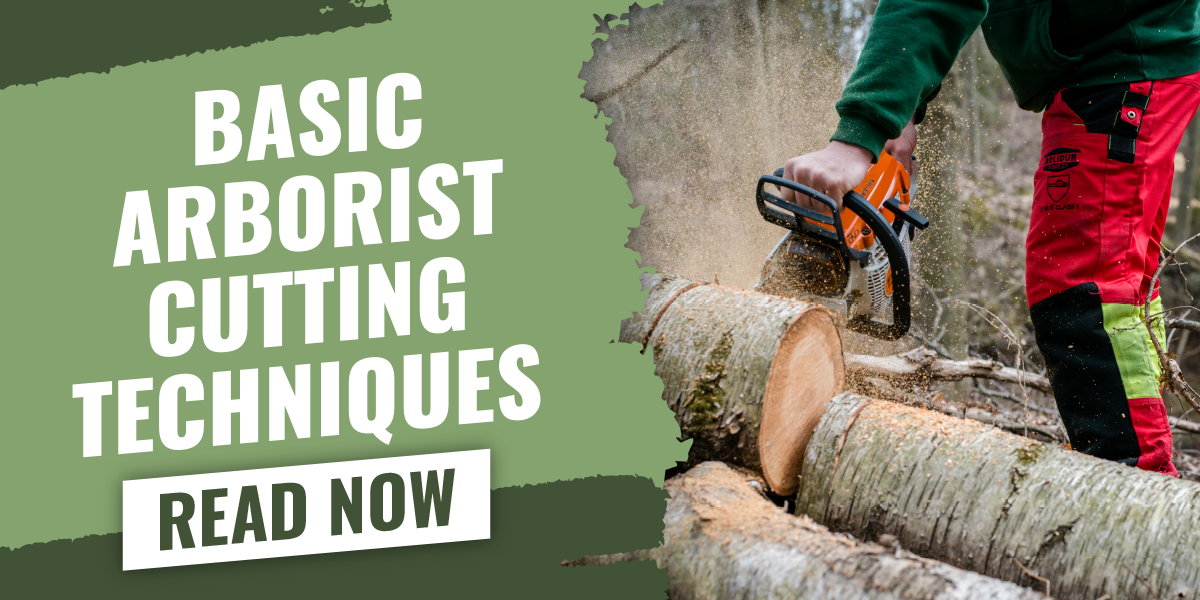
Making the right cut: Basic Cutting Techniques
In the world of tree care, understanding the various cutting techniques is an absolute necessity when it comes to safely and efficiently managing hinge wood. Each cutting technique serves a specific purpose, and the choice of cut can significantly impact the outcome (limb control) and the health of the tree. We’ll briefly explore the different cuts one can make on a tree and why you would choose one over the other. Psst, this is meant to help those in the beginning phase of their career.
Here are some of the basic we all as arborists should know:
The classic 3 step drop cut.
This should be one of the very first cutting techniques you learn to make while aloft. This begins about a foot from the branch collar, and we’ll make a slight cut on the underside of the limb but beware not to go too deep; going too deep may cause the limb to close the kerf and therefore, pinching your bar. Second, we’ll make a cut on the top side of the limb, about 5-6” further from the undercut (towards the brush end). If executed correctly the limb will just pop and come down horizontally… for the most part. This method is really handy on pruning jobs; it eliminates the dreaded peel! Next, is to clean it up with the Branch collar cut.
Branch collar cut:
This cut is made just outside the branch collar, leaving the collar and the branch bark ridge intact. Whatever you do, DO NOT flush cut a limb! The collar promotes healing and reducing the risk of disease and decay. Sure, juvenile trees may not have a collar formed but this still doesn’t give us the ok to flush cut.
Snap cuts:
This will come in super handy, if you need to handle something in a controlled manner and you’re trying to shake off that one-handing habit. Yeah, yeah, yeah everyone has different feelings about, and to each their own. Anyway, if you’re trying to handle and throw a piece down with accuracy, the snap cut is amazing, and it doesn’t have to be just for wood chunks; you can apply this to limbs as well (with restrictions).
- First, we’ll make a cut in the direction that we would like to send the piece. Usually, a third is what works for me.
- Second, we’ll make a back cut, roughly 5” above where the front directional kerf is located. Now, the goal here is to have the cuts bypass each other and for the piece to stay in its place. Now, there are variables to think of here; is the section dead or alive? What species of tree? And what time of year? These are some things to think about before trying to execute this technique.
- Last thing is to push or grab the piece and push forward to break the piece loose and throw it into the clear.
Pruning, my absolute favorite; consists of removing dead, damaged, or diseased limbs to improve tree health and in some cases, aesthetics.
Crown Reductions:
Done for some of the following reasons: trying to contain a tree in a growing space, or structural pruning on juvenile trees, and may include reducing a competing stem that is fighting for leadership with another; but whatever the reason, make sure to use reduction cuts. So, with that being said; reduction cuts are accomplished by pruning back the desired limb to secondary stems that are large enough to assume the terminal role, and most of the time it’s reducing it to something at least one-third the diameter of the cut stem. Remember the cut should be made just beyond the lateral stem.
Heading Cuts:
This style of cut is removing the lateral branch to a node and NOT to another lateral limb. But why would someone do this? There are a few reasons why this cut may be applied rather than a reduction or limb removal.
- Pollarding. This practice originated in Europe and was done when removing the tree when it was impractical, for example under utility lines where it can become a problem as the tree grows. Now Pollarding cuts (which are heading cuts) are made strategically along the limbs which in turn cause epicormic growth. The new growth is then removed every year, leaving just a small “nubby” where the original Pollard cut was made. Over time, the “nubby” will become engorged and will form a huge knuckle. I have only done this special form of pruning twice and the result is… well, nice but different.
- Crabapples and Burning Bushes, both of these were notorious for applying heading cuts, at least at my previous employment; and yes, I too dreaded shrub days! In order to get that big lollipop shape on either of these two, we would go in and basically do heading cuts all over them. Again, the tree’s response was to shoot out a bunch of epicorms. Eventually from repeating this process, it would fill in and shearing would be possible.
- Finally, storms have the ability to cause catastrophic damage to property and trees. For those that don’t wish to remove the damaged tree, a restoration is possible. There will be those times where a heading cut may be made deliberately to induce growth. Our job will then be to go in and designate a terminal leader

Leave a comment